温故而知新-0320-0324
温故而知新
0.一些感悟
对于解决问题的能力:
- 首先是对于需求方提出的需求:如果遇到
技术上较难解决 / 成本较高的需求时,难免会陷入内耗拒绝抱怨的心态,而此时更难得的是保持一颗解决问题的心,要主动去思考为什么没人解决、可以通过什么方式去解决,快速高效地去实现出来。 - 其次是主动发现需求点的能力:要主动跟需求方沟通,了解他们的工作模式方式,可能会存在一些可以主动提效的点,针对这些点去改进。
- 较大型的项目/需求:leader强调过,要把自己当作一个合格的产品+开发+测试,需求分析、可行性分析、方案设计、开发测试、上线维护都要考虑到,且每一步都应尽可能得完善。
1.RN原生桥 iOS 获取 JSContext
- 你可以通过 RCTBridgeDelegate 协议的 sourceURLForBridge: 方法来获取 RN 加载的 JS 代码的 URL。
- 你可以通过 RCTBridge 的 executeSourceCode: 方法来执行 JS 代码,并返回一个 JSContext 实例。
- 你可以通过 RCTJavaScriptExecutor 协议的 executeBlockOnJavaScriptQueue: 方法来在 JS 线程上执行一个 Block,并在 Block 中访问 JSContext 实例。
- 你可以通过 JSContext 的 setObject:forKeyedSubscript: 方法来向 JS 环境中注入原生对象或函数。
在 React Native 中,如果您需要在原生代码中获取当前的 JavaScript 上下文(JSContext),可以通过 RCTBridge 类的 currentBridge 方法来实现。 RCTBridge 类是 React Native 框架中的一个核心类,它负责管理 JavaScript 和原生代码之间的通信,并提供了一些方法和属性来处理这种通信。
您可以使用以下代码获取当前的 JSContext:
#import <React/RCTBridge.h>
#import <JavaScriptCore/JavaScriptCore.h>

// ...

RCTBridge *bridge = [RCTBridge currentBridge];
JSContext *jsContext = [bridge valueForKey:@"jsExecutor"].context;
在上述代码中,我们首先获取当前的 RCTBridge 实例,然后通过 valueForKey: 方法获取到 jsExecutor 属性。jsExecutor 属性是 RCTCxxBridge 类的一个实例,该类是 RCTBridge 的一个子类。最后,我们使用 context 属性获取当前的 JSContext。
如何通过JSContext拿到当前RN的Bundle信息?
// 获取 __fbBatchedBridgeConfig 这个全局变量的 JSValue 实例
JSValue *config = [jsContext objectForKeyedSubscript:@"__fbBatchedBridgeConfig"];

// 获取 bundleURL 这个属性的 JSValue 实例
JSValue *bundleURL = [config objectForKeyedSubscript:@"bundleURL"];

// 将 JSValue 转换为 NSString 类型
NSString *urlString = [bundleURL toString];

// 打印结果
NSLog(@"The bundle URL is: %@", urlString);
具体的hook 实现:
在iOS Native Module中,可以使用RCTJavaScriptContext类来获取当前的JSContext。以下是一个示例,演示了如何在Objective-C中获取当前的JSContext:
#import "React/RCTBridgeModule.h"
#import "React/RCTJavaScriptContext.h"

@interface MyNativeModule : NSObject <RCTBridgeModule>
@end

@implementation MyNativeModule

RCT_EXPORT_MODULE();

RCT_EXPORT_METHOD(doSomething) {
  RCTJavaScriptContext *context = [self.bridge valueForKey:@"javaScriptContext"];
  JSContext *jsContext = context.JSGlobalContextRef;
  // Do something with jsContext...
}

@end
以下是一个用于 Hook RCT_EXPORT_METHOD 的例子,把原有的 print: 方法改成输出 %@ Hooked 的文本:
// 定义自己的方法(与要 Hook 的方法具有相同的签名)
- (void)my_print:(NSString *)param {
    NSLog(@"My custom method with param: %@ Hooked", param);
}

// 在类的 +load 方法中 Hook RCT_EXPORT_METHOD 宏生成的方法
+ (void)load {
    // 获取 RCT_EXPORT_METHOD 生成的方法原有的实现和签名
    Method originalMethod = class_getInstanceMethod([self class], @selector(print:));
    NSString *typeEncoding = [NSString stringWithUTF8String:method_getTypeEncoding(originalMethod)];

    // 安装自己的实现
    IMP myIMP = imp_implementationWithBlock(^(id self, NSString *param) {
        [self my_print:param];
    });
    class_replaceMethod([self class], @selector(print:), myIMP, typeEncoding.UTF8String);
}
2.图像拼接模板匹配算法实现
图像拼接模板匹配算法是一种利用模板在目标图像上滑动,计算相似度,找到最佳匹配位置的方法。这种方法可以用于多个图像的拼接,但需要注意旋转和缩放等因素的影响
# 导入opencv库
import cv2

# 读取两张需要拼接的图片
img1 = cv2.imread("img1.png")
img2 = cv2.imread("img2.png")

# 选择一张图片作为模板,另一张作为目标
template = img1
target = img2

# 获取模板的宽度和高度
w, h = template.shape[:2]

# 使用cv.matchTemplate()函数进行模板匹配,返回一个匹配结果矩阵
result = cv2.matchTemplate(target, template, cv2.TM_CCOEFF_NORMED)

# 获取匹配结果矩阵中的最大值和最小值及其位置
min_val, max_val, min_loc, max_loc = cv2.minMaxLoc(result)

# 根据最大值位置确定模板在目标图像中的位置,计算出拼接后的宽度和高度
top_left = max_loc # 模板左上角在目标图像中的位置
bottom_right = (top_left[0] + w, top_left[1] + h) # 模板右下角在目标图像中的位置
width = max(bottom_right[0], target.shape[1]) # 拼接后的宽度为两张图像宽度的最大值
height = max(bottom_right[1], target.shape[0]) # 拼接后的高度为两张图像高度的最大值

# 创建一个空白图像,用于存放拼接后的图像
result_img = np.zeros((height, width, 3), dtype=np.uint8)

# 将两张图像按照位置复制到空白图像上,注意避免重叠区域覆盖
result_img[:target.shape[0], :target.shape[1]] = target # 复制目标图像到左上角
result_img[top_left[1]:bottom_right[1], top_left[0]:bottom_right[0]] = template # 复制模板图像到匹配位置

# 保存拼接后的图片
cv2.imwrite("result_img.png", result_img)
3.同时只能存在一个定时器的单例实现
**@implementation** videoTimerManager

// 单例实现方法

+(**instancetype**)shareInstance {

    **static** videoTimerManager* _instance = **nil**;

    **static** dispatch_once_t onceToken;

    dispatch_once(&onceToken, ^{

        _instance = [[**self** alloc] init];

    });

    **return** _instance;

}

// 开始定时器

- (**void**)startTimer {

    **if**(**self**.timer) [**self** stopTimer];

    **self**.timer = [NSTimer scheduledTimerWithTimeInterval:1 target:**self** selector:**@selector**(timerAction) userInfo:**nil** repeats:**YES**];

    [[NSRunLoop mainRunLoop] addTimer:**self**.timer forMode:NSRunLoopCommonModes];

}

// 停止定时器

- (**void**)stopTimer {

    [**self**.timer invalidate];

    **self**.timer = **nil**;

}

// 定时器执行的任务

-(**void**)timerAction {

    **if** (**self**.timerBlock) {

        **self**.timerBlock();

    }

}

**@end**
4.chatgpt相关
apikey的生成:https://chatgpt.cn.obiscr.com/blog/posts/2023/How-to-get-api-key/#api-key
工程化工具:https://python.langchain.com/en/latest/getting_started/getting_started.html#
visual chatgpt:https://github.com/microsoft/visual-chatgpt
本地试了下visual chatgpt,对于VQA依赖前置VFM对图像的理解,稍微复杂的场景就不可用了。感觉整体还是偏向于简单任务处理图像。本地M1搭了一下也可以使用,只不过比较慢,下面是几个实例:
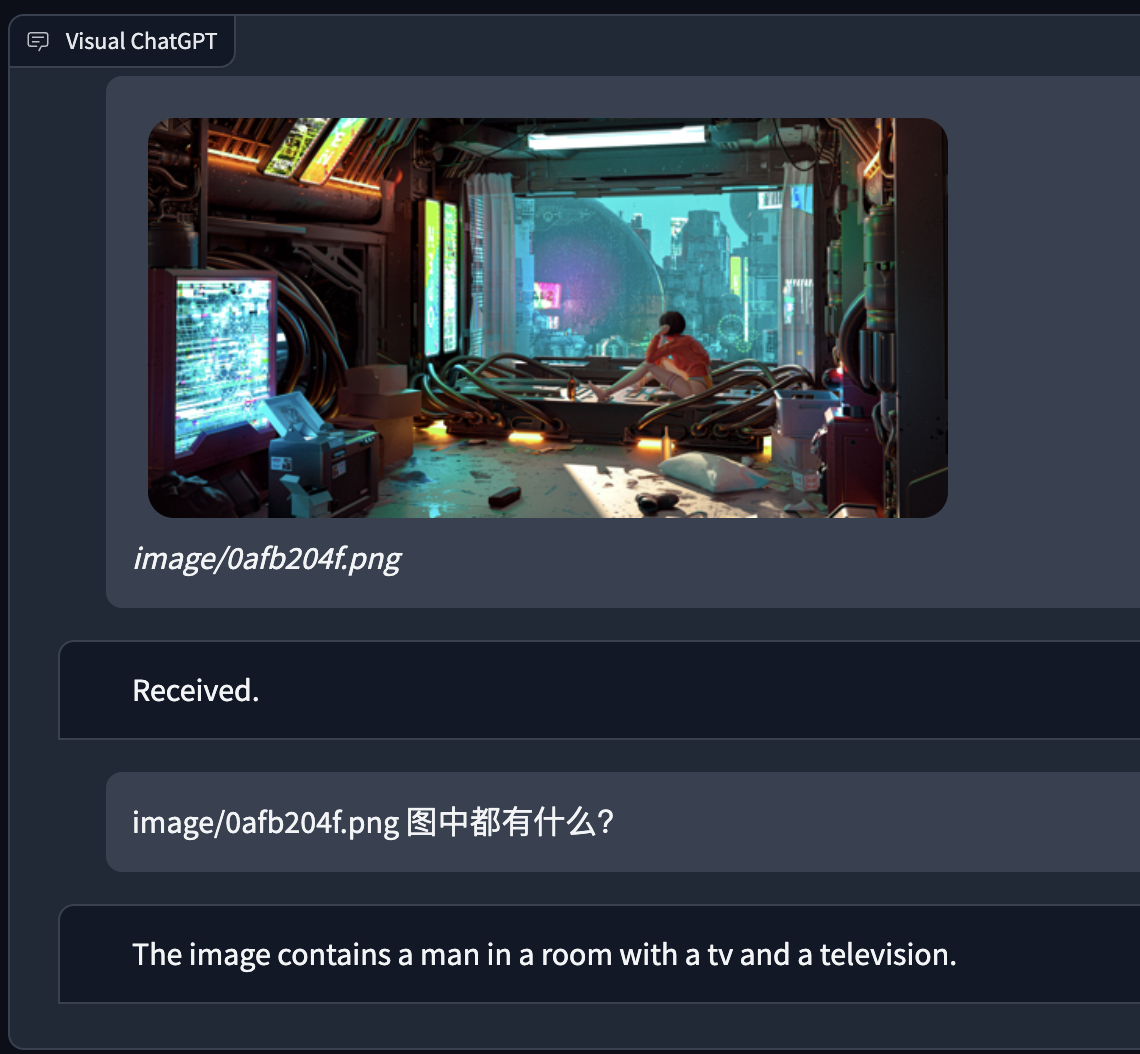
模型对于图像的理解:
Human: provide a figure named image/0afb204f.png. The description is: a man in a room with a tv and a television. This information helps you to understand this image, but you should use tools to finish following tasks, rather than directly imagine from my description. If you understand, say "Received".
AI: Received.
chatgpt的回答是基于以上的description。
理解:
AI: The image contains a man in a room with a tv and a television. The woman in the image is standing.
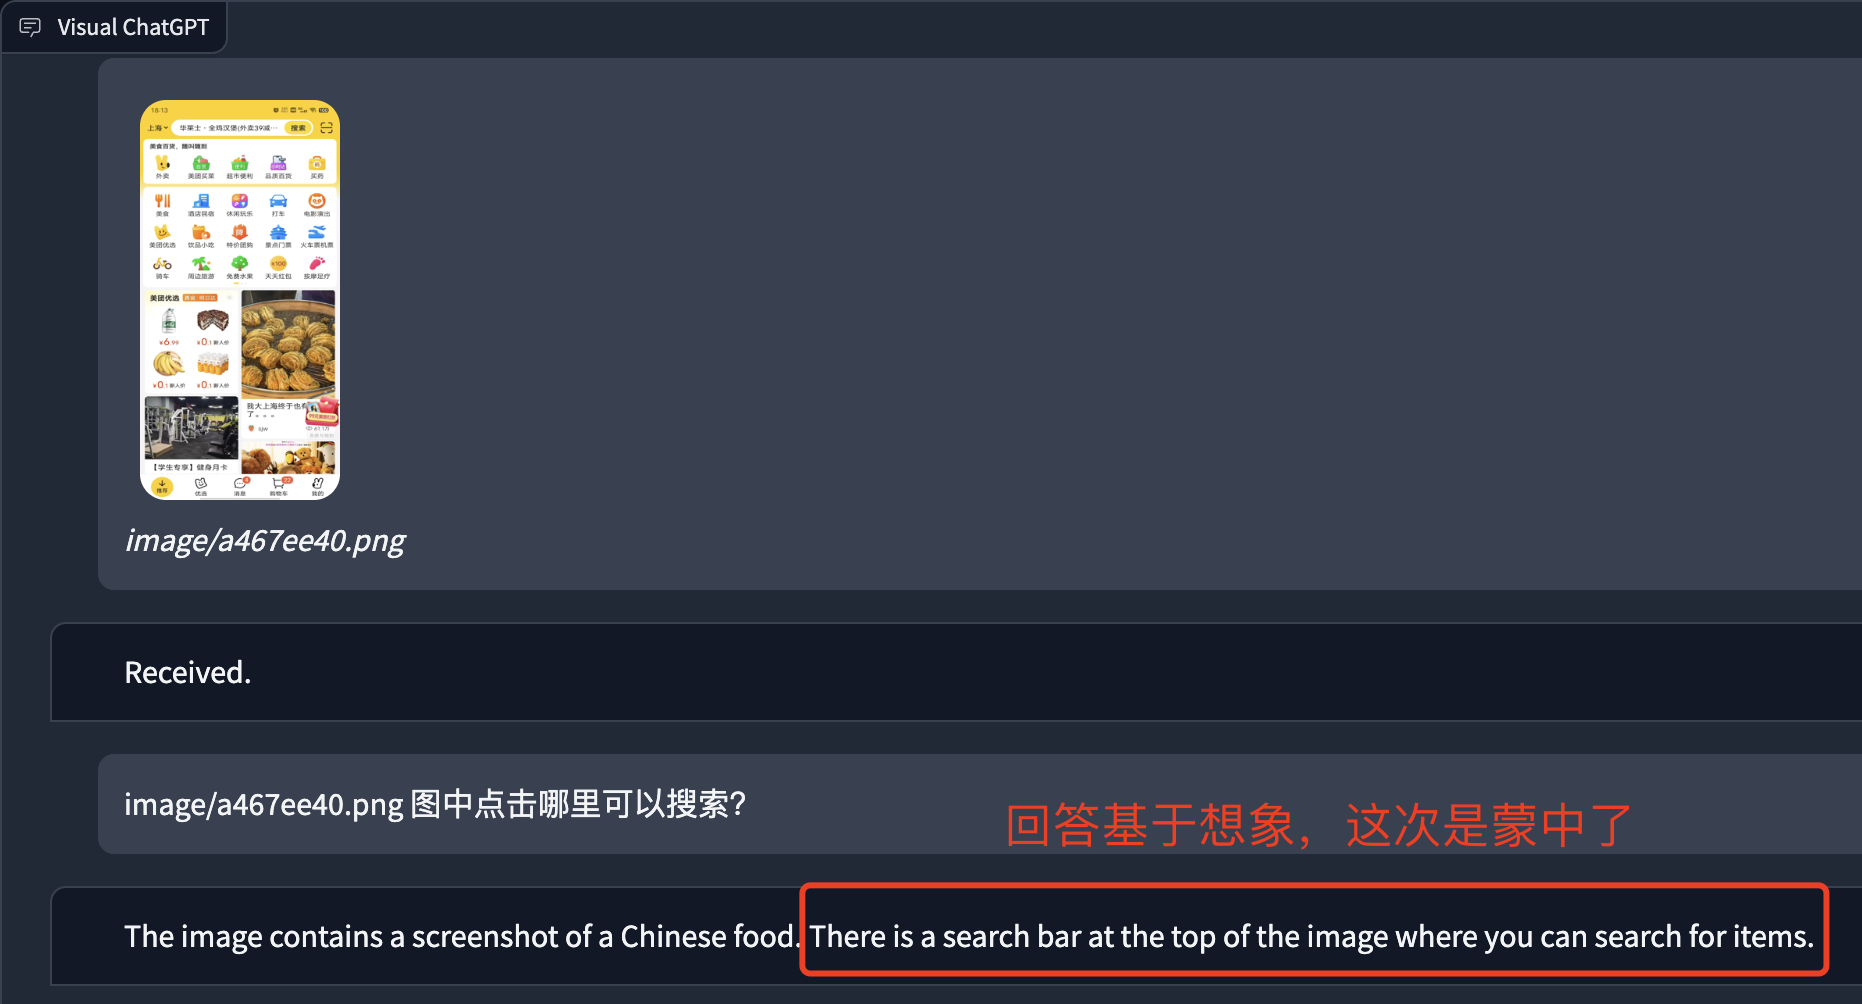
Human: provide a figure named image/a467ee40.png. The description is: a screenshote of a chinese food. This information helps you to understand this image, but you should use tools to finish following tasks, rather than directly imagine from my description. If you understand, say "Received".
AI: Received.